iOSではUIActionControllerを使用して、ポップアップでアラートを表示したり、選択肢(アクションシート)を表示したりして、ユーザーに項目を選択させることができます。
iPhoneにおいては、アラートの表示も選択肢の表示も問題なく動作します。しかし、iPadにおいてはiPhoneと同様の実装を行うと、アラートは動作しますが、選択肢(アクションシート)の表示は落ちてしまいます。
本TipsではiPhoneとiPadでアラートとアクションシートを表示する方法について説明します。
今回作成するサンプルは以下のようなものです。
Xcode:9.4.1
Swift:4.1.2
はじめに、AlertControllerの使用してアラートを表示する方法について説明します。これが基本となります。
Xcodeを起動してSingle View Appプロジェクトを作成します。
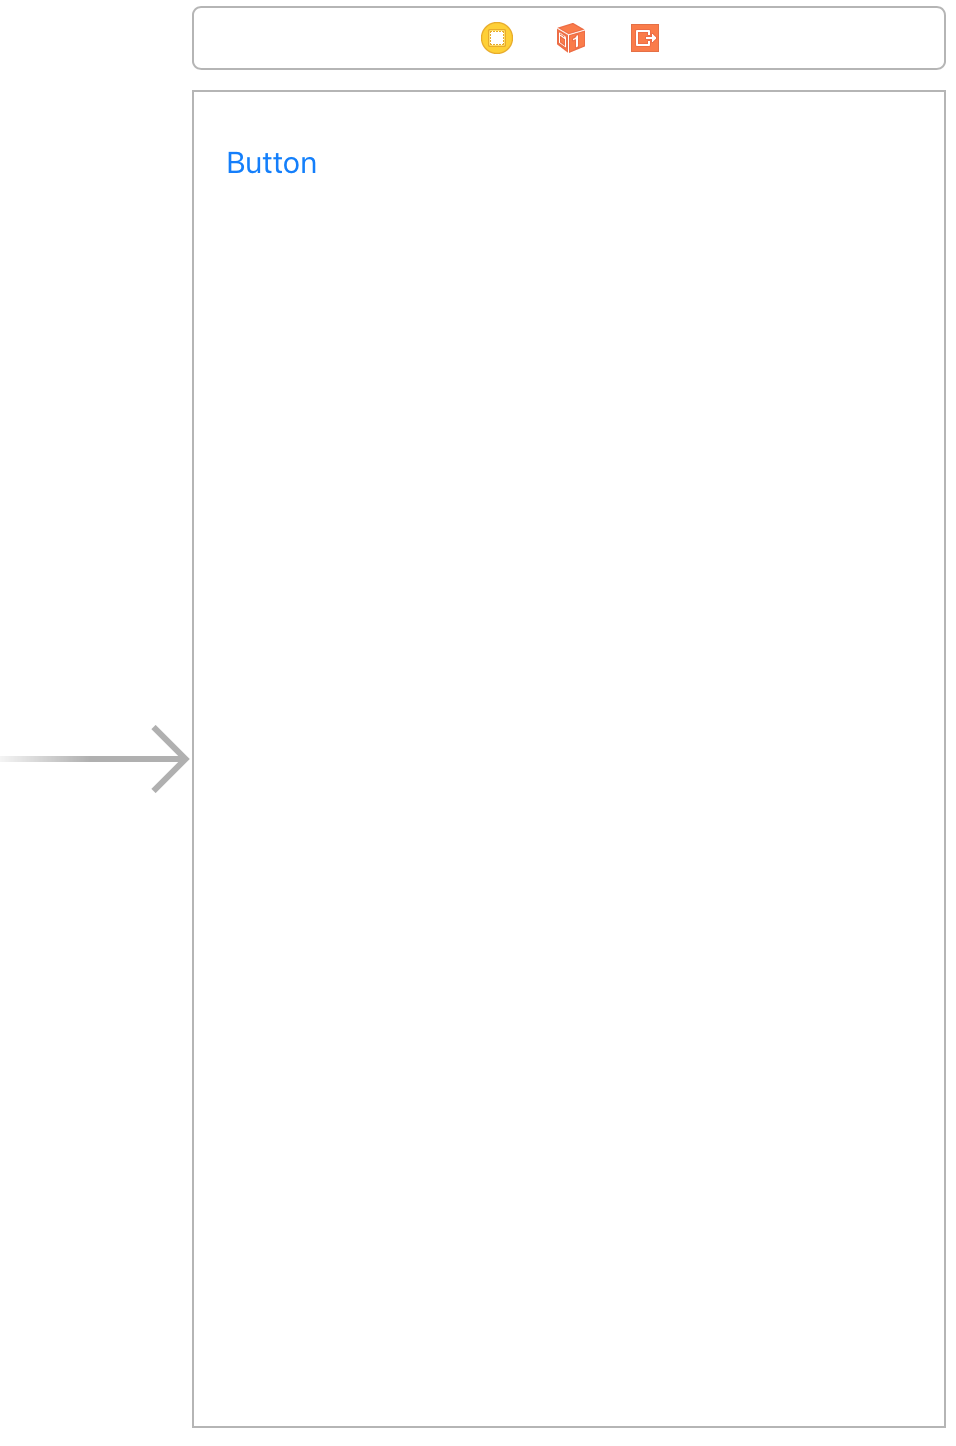
次にMain.storyboardを開いてUIButtonを1つ貼り付けます。
続いて、貼り付けたButtonのアクション接続を作成します。
名称は、buttonAlertとしました。
コードはiPhoneもiPadも同一のもので動作します。コード例を以下に示します。
①の部分でUIAlertControllerのインスタンスを作成し、②と③でOKボタンとキャンセルボタンを作成しています。
④で、①で作成したインスタンスにOKボタンとキャンセルボタンを追加し、⑤でアラートの表示をしています。詳細はコード中のコメントを参照してください。
@IBAction func buttonAlert(_ sender: Any) {
    // ①UIAlertControllerクラスのインスタンスを生成する
    // titleにタイトル, messegeにメッセージ, prefereedStyleにスタイルを指定する
    // preferredStyleにUIAlertControllerStyle.alertを指定してアラート表示にする
    let alert: UIAlertController = UIAlertController(
        title: "アラート表示",
        message: "メールを送信します。よろしいですか?",
        preferredStyle: UIAlertControllerStyle.alert)

    // ②OKボタンの作成
    // titleにボタンのテキストを、styleにUIAlertActionStyle.defaultを
    // handlerにボタンが押された時の処理をクロージャで実装する
    let okAction: UIAlertAction =
        UIAlertAction(
            title: "OK",
            style: UIAlertActionStyle.default,
            handler:{
                (action: UIAlertAction!) -> Void in
                print("OK")
    })

    // ③キャンセルボタンの作成
    // OKボタンと同様に作成
    let cancelAction: UIAlertAction =
        UIAlertAction(
            title: "キャンセル",
            style: UIAlertActionStyle.cancel,
            handler:{
                (action: UIAlertAction!) -> Void in
                print("Cancel")
    })

    // ④UIAlertControllerのインスタンスに作成したボタンを追加
    alert.addAction(cancelAction)
    alert.addAction(okAction)

    // ⑤アラートを表示
    present(alert, animated: true, completion: nil)
}
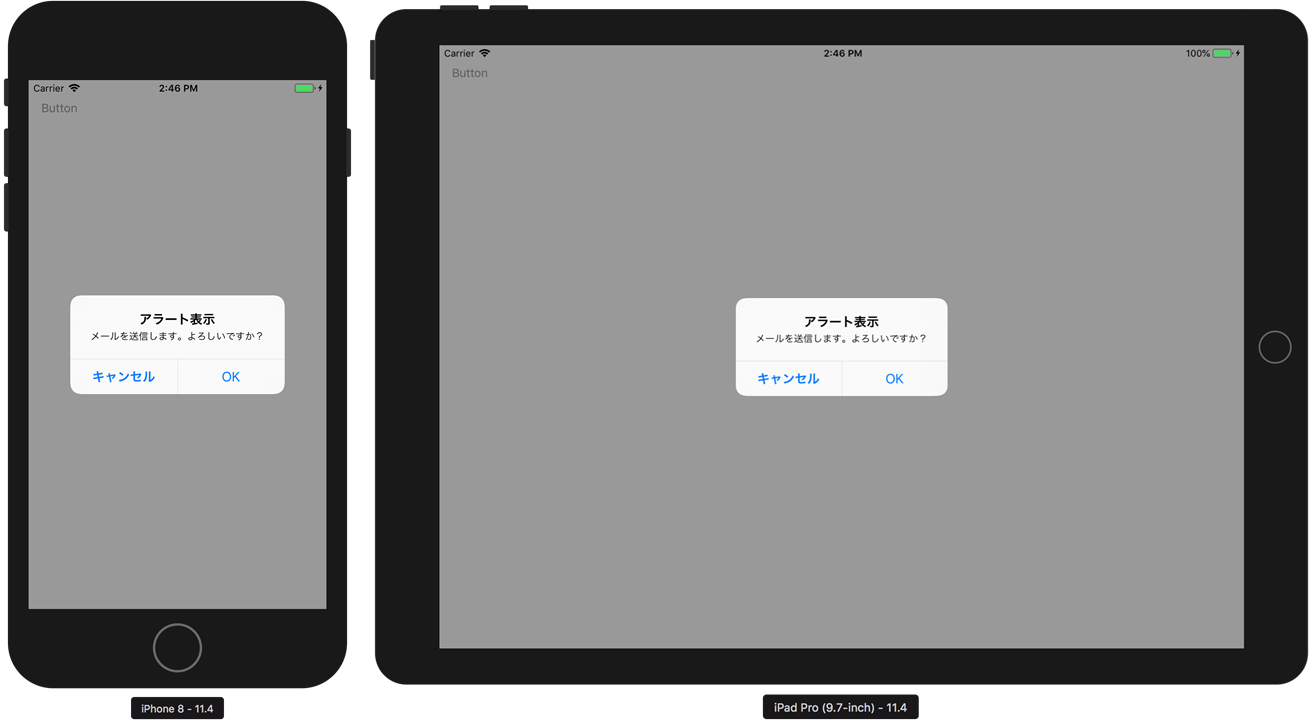
上記の実行例を以下に示します。
UIAlertControllerでのアラート表示方法を理解したら、iPhoneにおける選択肢(ActionSheet)の表示方法を理解しましょう。
コード例を以下に示します。この例ではユーザーに「バスケットボール」「野球」「テニス」の選択肢を示し、選択してもらうためのアクションシートを表示します。
はじめに①の部分でUIAlertControllerのインスタンスを生成します。アラートの時との違いは preferredStyle に UIAlertControllerStyle.actionSheet を指定するという部分です。
②では選択肢を作成し、①で作成したインスタンスに追加をしています。アラートのOKボタン作成時のコードとほぼ同様です。
最後に③でアクションシートを表示します。
@IBAction func buttonAlert(_ sender: Any) {
    // ①UIAlertControllerクラスのインスタンスを生成する
    // titleにタイトル, messegeにメッセージ, prefereedStyleにスタイルを指定する
    // preferredStyleにUIAlertControllerStyle.actionSheetを指定してアクションシートを表示する
    let actionSheet: UIAlertController = UIAlertController(
        title: "選択肢を表示",
        message: "好きなスポーツを選択してください",
        preferredStyle: UIAlertControllerStyle.actionSheet)

    // ②選択肢の作成と追加
    // titleに選択肢のテキストを、styleに.defaultを
    // handlerにボタンが押された時の処理をクロージャで実装する
    actionSheet.addAction(
        UIAlertAction(title: "バスケットボール",
                      style: .default,
                      handler: {
                        (action: UIAlertAction!) -> Void in
                            print("バスケットボール")
        })
    )

    // ②選択肢の作成と追加
    actionSheet.addAction(
        UIAlertAction(title: "野球",
                      style: .default,
                      handler: {
                        (action: UIAlertAction!) -> Void in
                        print("野球")
        })
    )

    // ②選択肢の作成と追加
    actionSheet.addAction(
        UIAlertAction(title: "テニス",
                      style: .default,
                      handler: {
                        (action: UIAlertAction!) -> Void in
                        print("テニス")
        })
    )

    // ③アクションシートを表示
    present(actionSheet, animated: true, completion: nil)
}
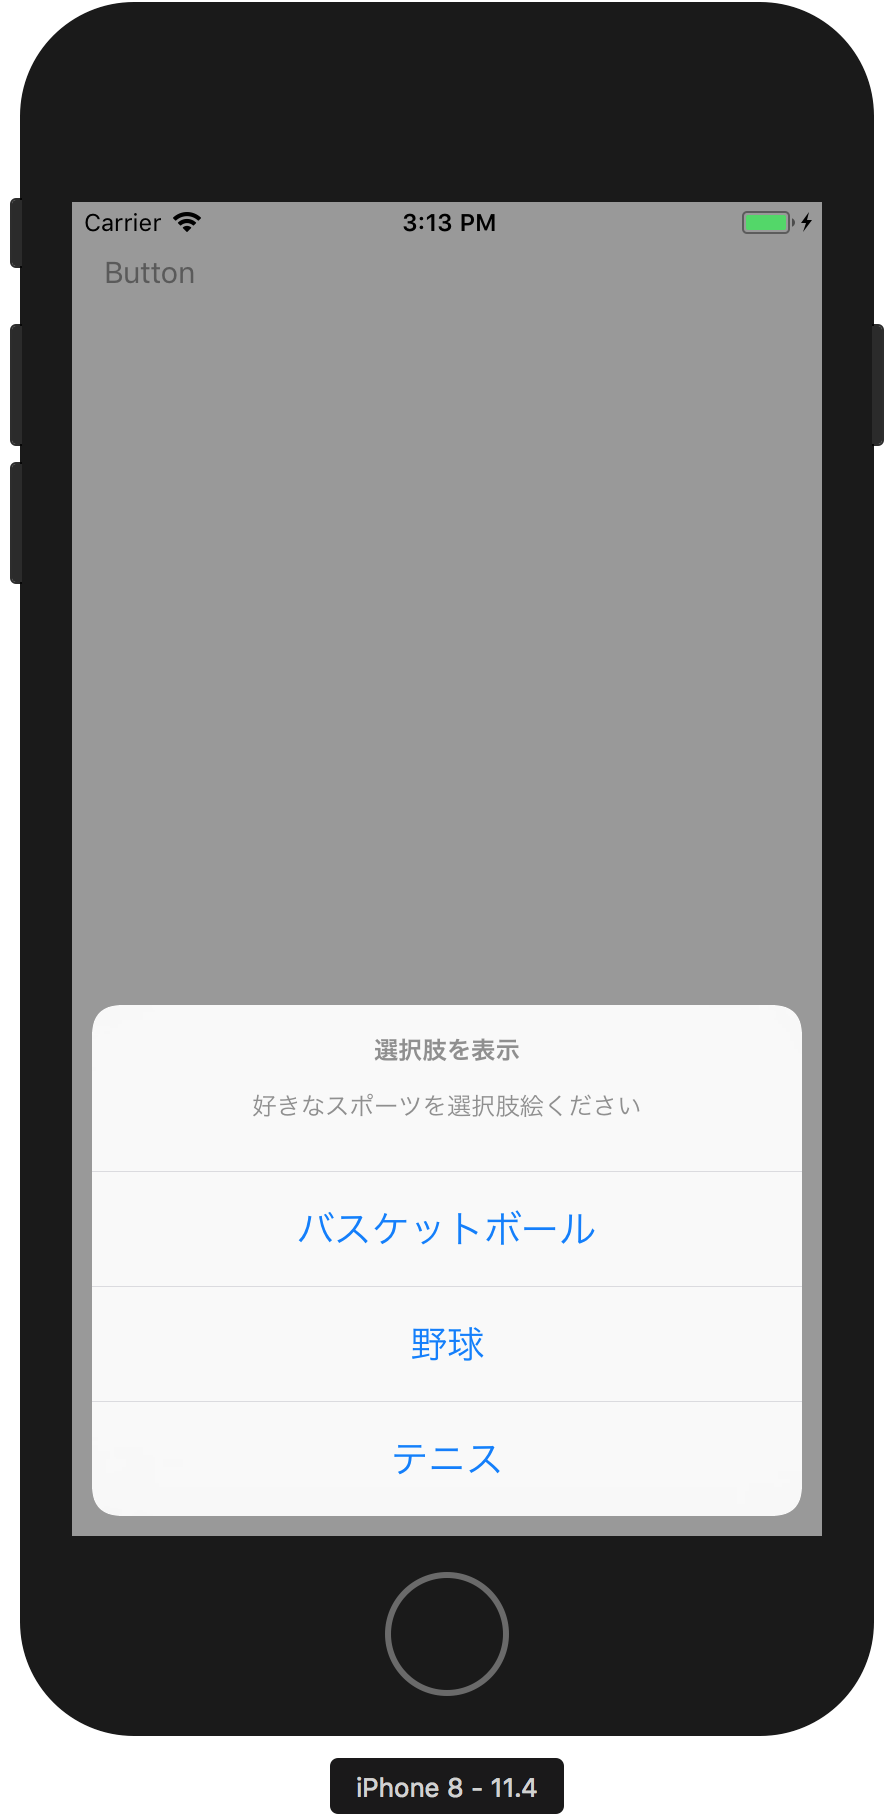
上記の実行例を以下に示します。
iPadではiPhoneと同様に実装すると落ちてしまいます。
そこで、コードを以下のように実装します。
違いは以下コードの③の部分のみです。
iPadでアクションシートを表示するには、アクションシートを表示するViewと表示位置を指定する必要があります。
Viewは popoverPresentationController?.sourceView に、表示位置は popoverPresentationController?.sourceRect に指定します。このとき表示位置をsender(つまりはアクションシートを表示するために押されたボタン)を指定することで、そのボタンから吹き出しのようにアクションシートが表示されるようになります。
@IBAction func buttonAlert(_ sender: Any) {
    // ①UIAlertControllerクラスのインスタンスを生成する
    // titleにタイトル, messegeにメッセージ, prefereedStyleにスタイルを指定する
    // preferredStyleにUIAlertControllerStyle.actionSheetを指定してアクションシートを表示する
    let actionSheet: UIAlertController = UIAlertController(
        title: "選択肢を表示",
        message: "好きなスポーツを選択してください",
        preferredStyle: UIAlertControllerStyle.actionSheet)

    // ②選択肢の作成と追加
    // titleに選択肢のテキストを、styleに.defaultを
    // handlerにボタンが押された時の処理をクロージャで実装する
    actionSheet.addAction(
        UIAlertAction(title: "バスケットボール",
                      style: .default,
                      handler: {
                        (action: UIAlertAction!) -> Void in
                            print("バスケットボール")
        })
    )

    // ②選択肢の作成と追加
    actionSheet.addAction(
        UIAlertAction(title: "野球",
                      style: .default,
                      handler: {
                        (action: UIAlertAction!) -> Void in
                        print("野球")
        })
    )

    // ②選択肢の作成と追加
    actionSheet.addAction(
        UIAlertAction(title: "テニス",
                      style: .default,
                      handler: {
                        (action: UIAlertAction!) -> Void in
                        print("テニス")
        })
    )

    // ③表示するViewと表示位置を指定する
    actionSheet.popoverPresentationController?.sourceView = view
    actionSheet.popoverPresentationController?.sourceRect = (sender as AnyObject).frame

    // ④アクションシートを表示
    present(actionSheet, animated: true, completion: nil)
}
③の部分を以下のように変更することで、デバイスを自動的に判断して実行できるようになります。このように記述すればiPhoneでもiPadでも動作させることが可能になります。
デバイスの判定については「[Tips] 使用中のデバイスを判定する」の記事を参考にしてください。
// ③表示するViewと表示位置を指定する(デバイス自動判定版)
if UIDevice.current.userInterfaceIdiom  == .pad {
    actionSheet.popoverPresentationController?.sourceView = view
    actionSheet.popoverPresentationController?.sourceRect = (sender as AnyObject).frame
}
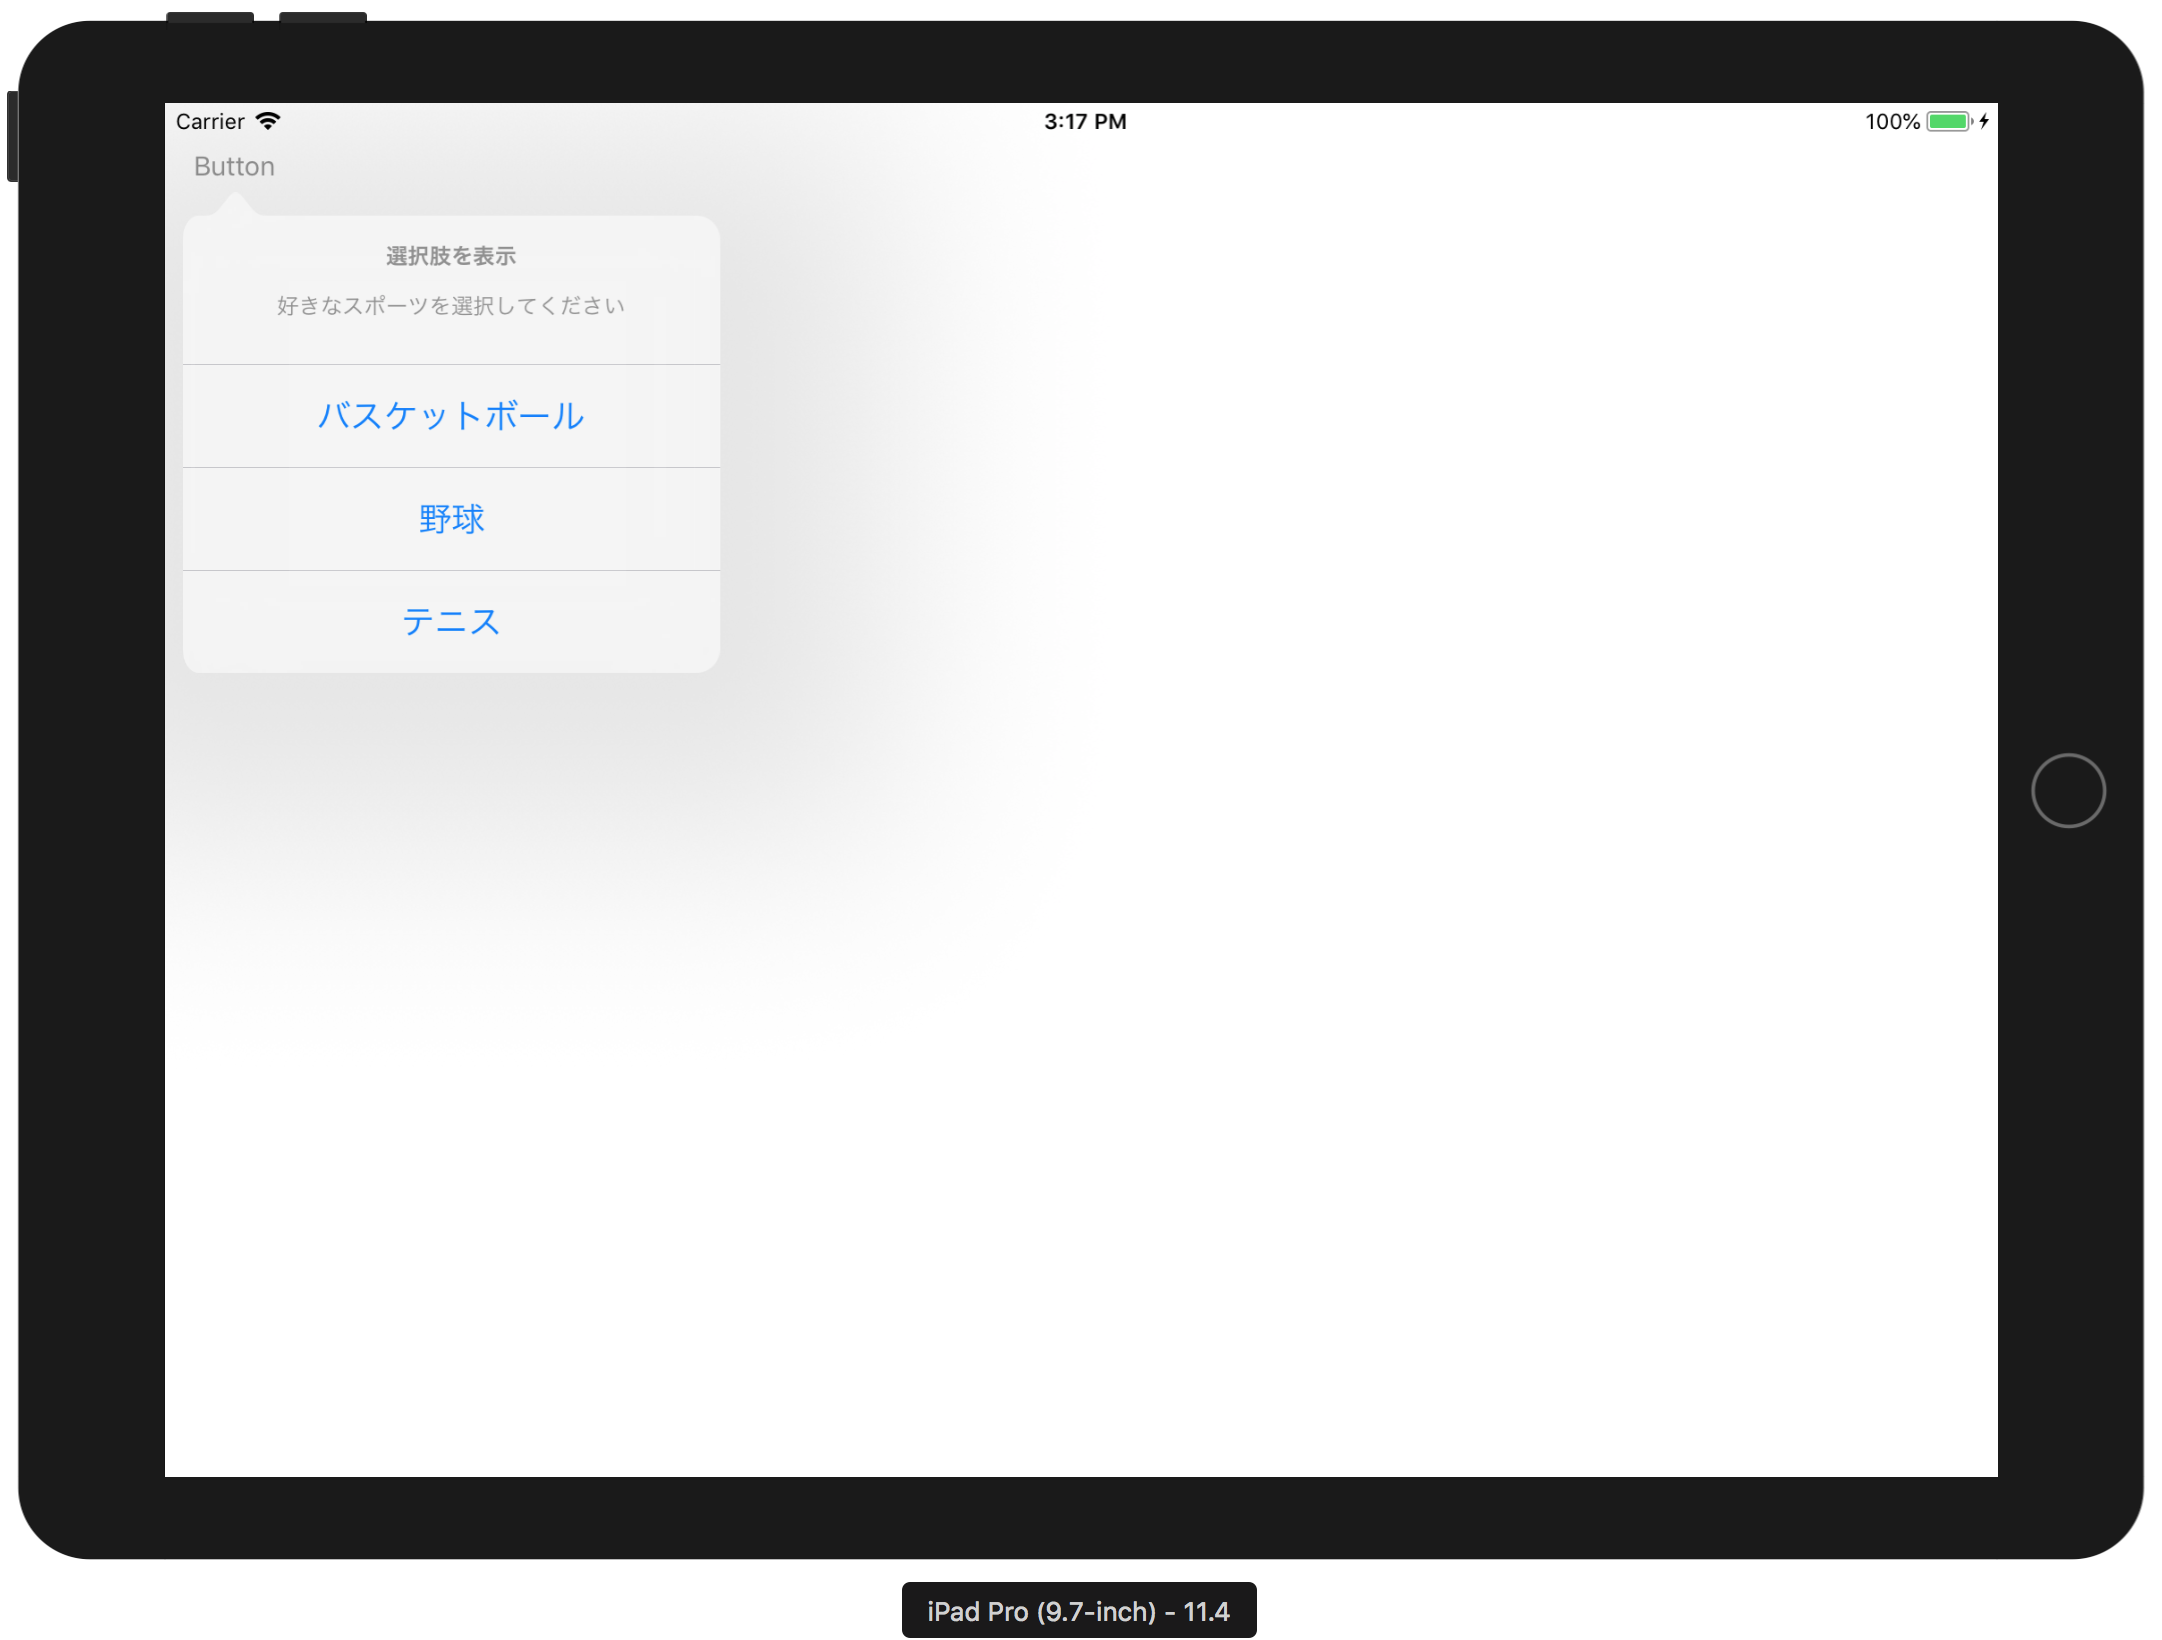
上記の実行例を以下に示します。
最後にボタンのスタイルについて説明します。
ボタンのスタイルは以下に示す3種類を指定することができます。
| スタイル | 説明 |
|---|---|
| default | 標準ボタン用 |
| cancel | キャンセルボタン用 |
| destructive | 赤文字 |
必要に応じて選択するようにしましょう。